Tuesday, July 26, 2011

Vintage bouquet!

I took a vintage book I found at a local thrift store & destroyed it to make flowers out of it!


I followed a tutorial & this how mine came out! I used 18 gage floral stem & just cut out a bunch of petals.


I used some craft wood sticks to give the stem a little more strength to it.


Monday, July 25, 2011

Satin Rose Tutorial Take Two~

Satin Rose Tutorial Take Two~


I recently found out about this awesome craft tool, it's called a heat gun!
 I am absolutely in love with it, for sure! No more burning yourself with a lighter! 
Though if your not careful you can burn yourself with a heat gun too! 
You can find them online at JoAnn's or any craft store!
 I recently got mine at JoAnn's for a great deal, plus I was able to use a coupon on it!


Now lets make a rose!

Materials:
Satin
Scissors
heat gun
pencil
hot glue gun
clip or headband


Once you have all your materials, go ahead and cut out 3 large circles, plus 2 small ones!
  
Don't hold the satin with your fingers, you will burn yourself!
I started out using scissors to hold mine, but then switched to tweezers, which work out awesome.
 Slowly run the heat gun along the edges, as your pinching the middle. The edges will start to curl up real fast but make sure you don't hold the heat gun too long in one spot, it will leave a burn mark!

 This is what it will look like once finish!
 Don't worry if they all don't match in shape! It gives it character by having them look different.
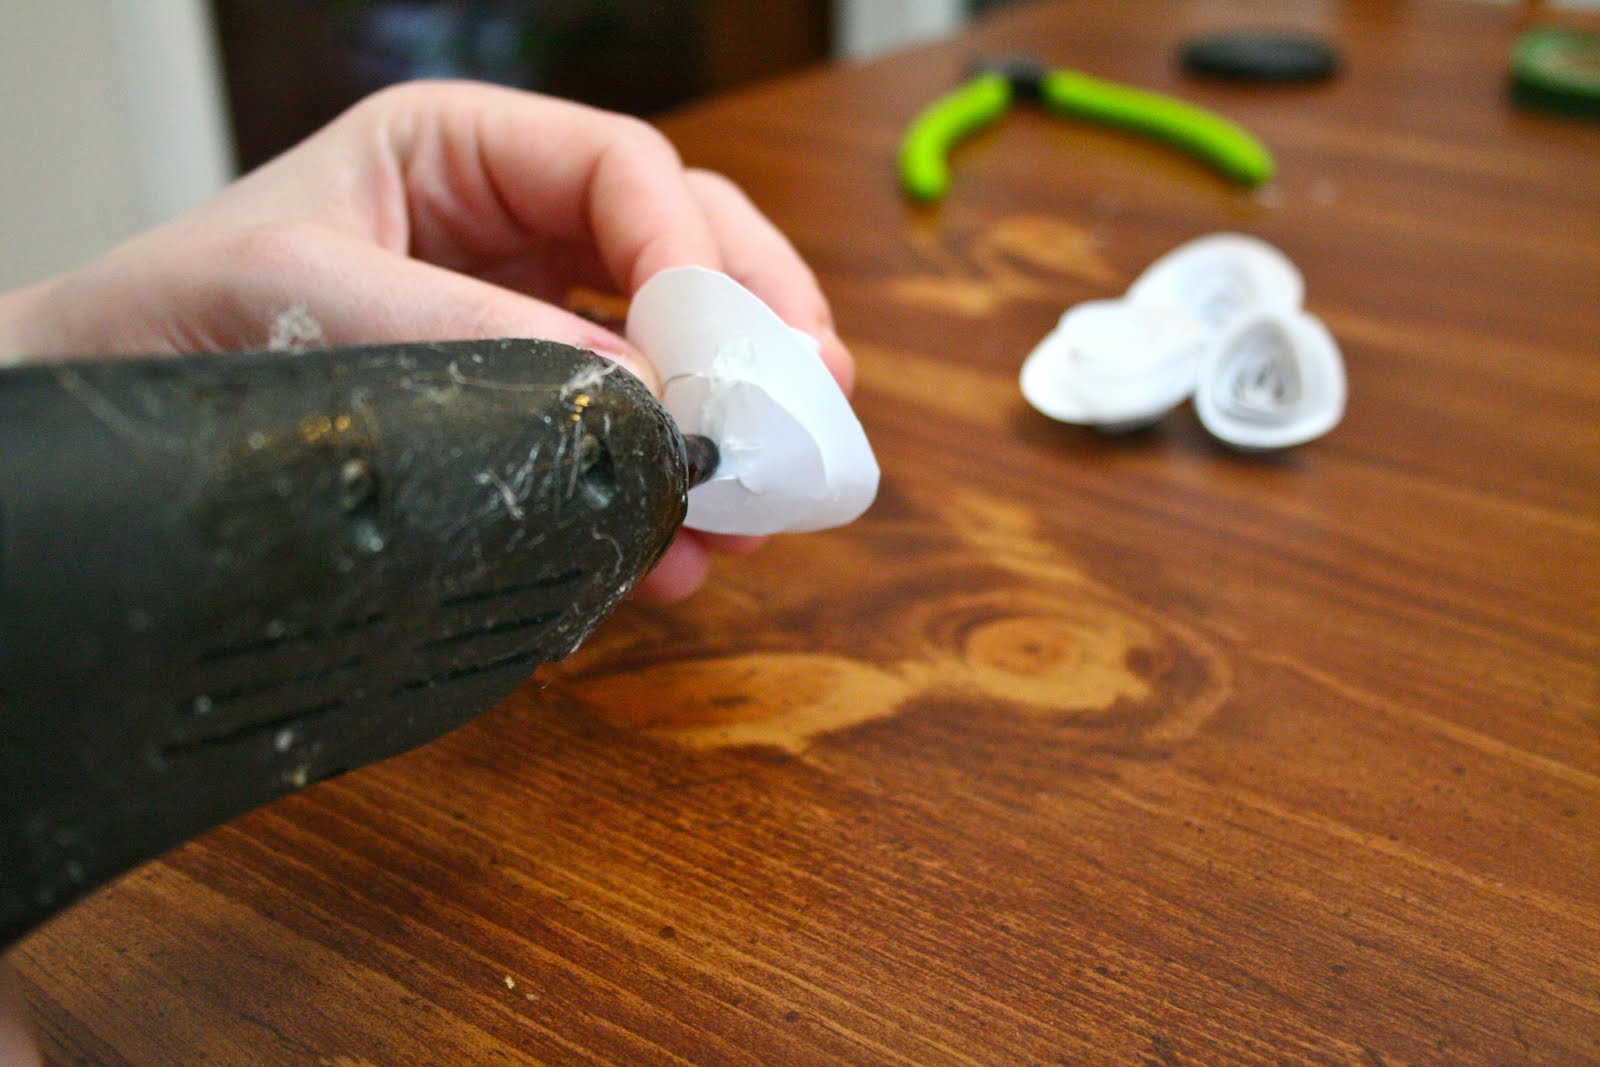
Now add a dab of hot glue to each center and attach each petal.


 With the last petal  add a dab of glue to the center and pinched it! After that  hot glue it to the top of the flower! 

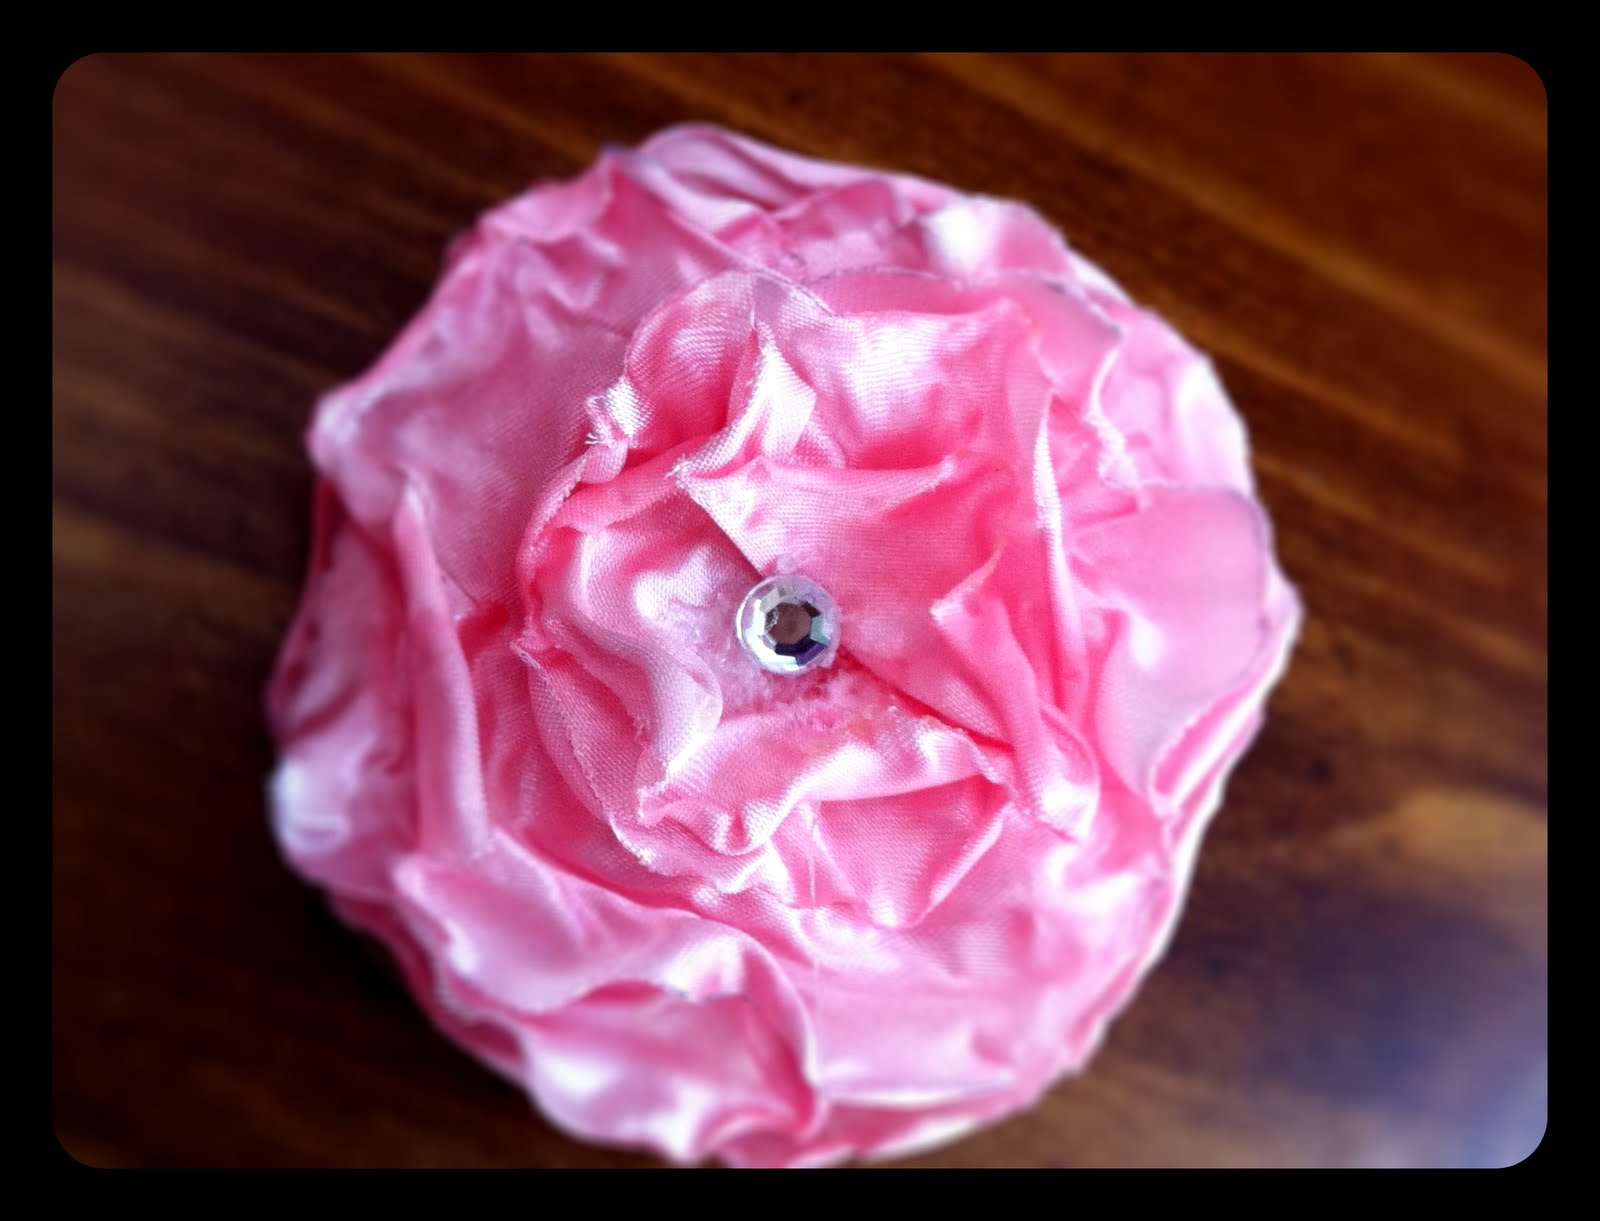
Now after you have all your petals attached, slowly run your heat gun over it to give it a bit more character!
You can basically add anything you like to the center, either a gem or stone will give it a little dazzle!
I like using these clips, because they fall out as easily.
Then hot glue it to the bottom of the flower and there you go!


Enjoy!

Don't forget to comment below!


Sunday, July 24, 2011

Satin flowers preview!


Will be posting a tutorial on how to make these satin roses tomorrow!

Have a beautiful Sunday:)

Wednesday, July 20, 2011

The winner is...


of the
Memories In The Making & Baking 
giveaway is..
.
.
.
.
.
.
.
.
.
.
 .

~Meg Martin~


Congrats on winning Meg! I will be in contact with you to get your mailing address!

Be on the look out for another giveaway next month everyone! 
Thanks again for liking my Facebook page & sharing it with your friends!
Blessings to you all!


Wednesday, July 13, 2011

Paper Roses Tutorial


I bought these cute shabby chic flower vases at thrift store recently and needed some flowers for them! I figure instead of buying some flowers, I could totally make some and here's how you can as well. 


Get ready here's what you need:

Hot glue gun
card-stock ( it can be any color or print) I'm planning to make some out of sheet music soon!
floral tape
wire clippers
18 gauge floral wire
Ruler


 I made mine on the small side, but you can do any size really. I cut out 4 4x4 blocks.
 Once you have them all cut out, draw a spiral. Don't worry if it isn't perfect! It just adds more shape to the rose = )
 Once you have it all cut out, start rolling from the outside.
 It will start to look like this.
 I added just a dot of hot glue to the tip to secure the flower in place.
 Take 3- 18 gauge floral wire and wrap them together with floral tape. I cut mine in half with wire clippers, so they wouldn't be so long.

 Now I had 4 roses in a bunch together but I'm sure you could add more buds to it to make it fuller.
 I hot glued all 4 of them together to make them more secure.
 Then  take your hot glue gun and glue your stem to the roses center.
 All done! Now you have pretty paper roses! 
I'm going to try and paint one of them using water colors later on.
 You could put them in a vase...
 Or bunch them up together with floral tape.


You can also use your paper roses to decorate cards as well like this:


I hope you enjoyed my paper roses tutorial! If you have a questions, comment below and I will get back to you!

Don't forget to enter my giveaway that is currently going on! Go here to enter!

http://memoriesinthemakingnbaking.blogspot.com/2011/07/its-giveaway-time-at-memories-in-making.html